
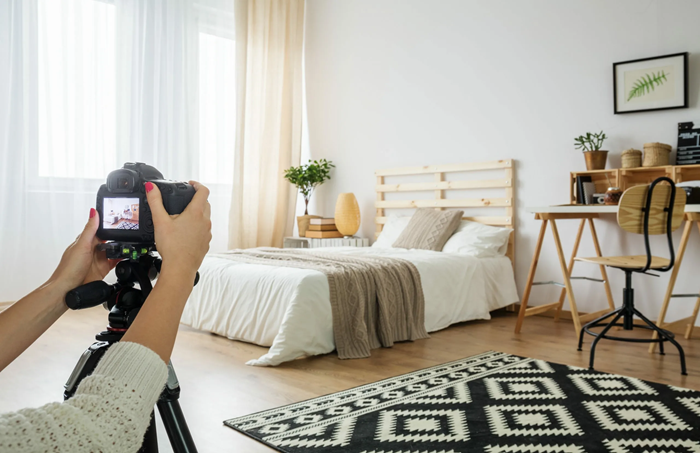
Interior photography is a way to show a space the way you want to remember it: functional, bright, and logical. Good shots help reveal the layout, highlight materials, and create a sense of comfort without embellishment that would be disappointing when viewed in person.
To ensure professional-looking photos, it’s important to control the lighting, geometry, and order in the frame, as well as consider the purpose of the shoot in advance: sale or rental, a designer’s portfolio, or social media posting. For projects at the level of lavradar real estate interiors work, these nuances are especially critical: photos must be both expressive and as honest as possible.
Space Preparation: Order, Composition, Accents
The camera «sees» more than the eye: small details, wires, stains on glass, wrinkled fabrics. Therefore, preparation is half the battle, not just a formality.
A Quick Checklist Before Shooting
- Remove visual clutter: remove unnecessary items from countertops, refrigerators, windowsills, and bedside tables.
- Hide cords, chargers, remote controls, bags, household chemicals, sponges, and rags.
- Wipe mirrors, glossy cabinets, bathroom fixtures, and glass surfaces.
- Orient textiles: bedspreads, curtains, blankets, and towels should look neat and taut.
- Add one or two appropriate accents: a vase, a book, a tray, or a plant—but avoid overloading them.
Composition and angles that show the layout
The main goal of interior photos is to explain the space. Shoot so the viewer understands the dimensions, passageways, and connections between zones. In most cases, angles from the corner of the room, diagonal shots, and shots through a doorway, which allow for multiple zones to be seen at once, work best.
- Start with an «anchor» shot of the room: the clearest view with maximum coverage.
- Take 1-2 additional angles that reveal depth (for example, a view of the window and the entrance).
- Add 2-3 detail shots: wood grain, handles, lamps, textiles, and decor – to convey the atmosphere.
Room Preparation: Order, Style, Accents
Cleanliness and order in the frame are more noticeable than the quality of the camera: unnecessary objects, wires, stains on the glass, and random textiles instantly weigh down the interior and distract from the architecture. Before shooting, it’s important to bring the space to a neat yet vibrant state—one in which everyday life can be easily imagined.
Preparing a space is about managing attention: you establish a style, remove visual clutter, and add accents that emphasize the concept and scale. The simpler and more logical the composition, the more compelling the interior will appear in the photo.
Pre-Shooting Preparation Checklist
- Clean up and clear surfaces
- Remove small items from countertops, cabinets, and windowsills, leaving 1-3 meaningful items.
- Hide household «marker» items: chargers, remote controls, bags, boxes, personal cosmetics.
- Align chairs, straighten curtains, rugs, and blankets; Close doors and drawers.
- Clean surfaces in the frame
- Wipe mirrors, glass, glossy surfaces, appliances, and facades—fingerprints are visible even in wide shots.
- Check for dust on shelves and furniture edges, marks on the floor, and stains on the walls.
- Create a unified style
- Include objects in the frame that have the same style and similar color scheme; Remove controversial elements.
- Consolidate the palette to 2-3 main colors and 1 accent color to create a cohesive look.
- Consolidate disparate textiles to create a single mood: similar textures or similar shades.
- Place accents and «anchors» in the composition
- Add one main focal point per frame: a vase, a book, a plant, a table lamp, or table setting.
- Create depth: an object in the foreground, the main subject in the middle, and a detail in the background.
- Use the odd number rule (3 objects instead of 2) for a more vibrant composition.
- Check the lighting and unnecessary reflections
- Turn light sources on or off consciously: mixed light often produces «dirty» tones.
- Remove unnecessary objects and yourself from reflections in mirrors and glossy surfaces; change the angle if necessary.
- Evaluate the frame through the viewer’s eyes: where the eye is drawn in the wrong direction, order or simplification is needed.
Summary: preparing a space for an interior shoot comes down to three steps: remove unnecessary items, create a cohesive style, and establish clear accents. Then, the essentials will be captured in the frame: the layout, lighting, materials, and mood of the space, and the photographs will look neat, professional, and compelling.